The other day I went to a local tackle shop to pick up some drop shot hooks. While I was there, one of the employees started asking me about the drop-shot rig and how specifically to tie it. It seems as though he was having problems when he was tying the hook to the line and just couldn’t get the hook to stay in a right-angle position on his line.
He was pretty sure that this was the cause of his lack of success with this rig and wondered if I had some secret that might help him. I asked him what knot he was using and when he told me, it was clear that he just wasn’t using the right one.
With that in mind, I figured that I would go over specifically how to tie a drop-shot rig. I’m sure that some of you are aware that there are several companies who will soon be releasing entire systems for drop-shotting that are designed to make tying easier as well as address the main drawback to the technique which is line twist. We will be reviewing these in depth when we get them and use them for a period of time but for now, let’s look at the traditional way to tie this rig.
To begin with, I only use spinning tackle and relatively light line, 4 – 6 pound test. For hooks I prefer Gamakatsu Drop/Split Shot Hooks. These are light wire, penetrate quickly and easily and are sturdier than you would think by looking at them.
The most important part of the rig is the knot that you use to tie the hook onto the main line. This is what will keep the hook, and
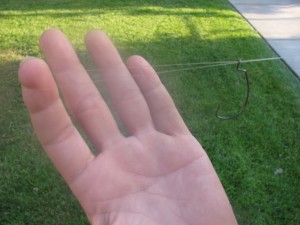
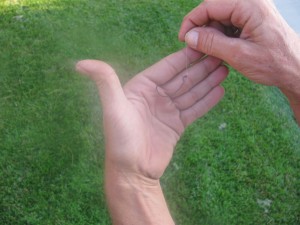
therefore, the bait in that horizontal position while in the water. We always use an overhand Palomar knot. To tie this you go up your main line about 18 inches, pinch the line together so that it is doubled then thread it through the hook eye.
Making sure you always have that same doubled over line to work with, now tie a simple granny knot in the line. Moisten the line and begin to cinch it down without tightening it all the way. Now take the loop from the granny knot and go over and around the entire hook. Finally, cinch it down completely and your hook will stick out at roughly a right-angle from your line.
Now all you have to do is put a weight on the end of the main line and choose a lure. I prefer the tungsten weights because they are smaller than their lead counterparts which increases sensitivity and is more environmentally friendly. Most of them have a clip on the top so that all you have to do is tie a simple knot at the end of your line, thread it through the wide part of the clip and then pull it up into the apex of the clip. This keeps the weight firmly on the line without much fuss.
Most of the baits that you’ll use with a drop-shot rig are designed to be nose-hooked which doesn’t require any special talents to do successfully. I just like to make sure that I can see at least 60% of the hook, the bait is vertically aligned with the hook and that the gap is not filled completely. I believe these precautions equate to a better hook-up percentage.
So there it is our complete guide to tying the drop-shot rig.
See ya’ on the water …

